I have tried several tutorials for the twist tags and I can not get them to work the way I
want so I wrote this tutorial.
It was inspired by several tutorials and I thank you all. Any similarities to another
tutorial is coincidential.
The only tools needed are PSP8 (or earlier version), Animation Shop, a fat font of your
choice and a tube of your choice. (The tube should be longer in width than height or
easily resized to approximately 250 X 150)
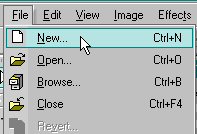
1. Open your tube into Paint Shop Pro. Copy your tube, SHIFT + D.
Close the original tube and work with the copy.
Copy your tube, SHIFT + D.
Close the original tube and work with the copy.
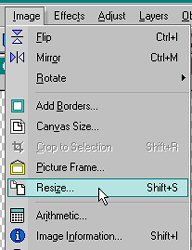
2. Resize your tube if needed. IMAGE > RESIZE You want the size to be approximately 250 X 150.
 then
then
3. Your tube should be centered in your canvas. If needed, use your mover tool
 to place the tube.
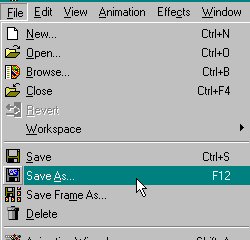
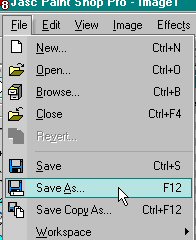
4. Once you are satisfied with your tube, save it as a pspimage file. FILE > SAVE AS
 then
then 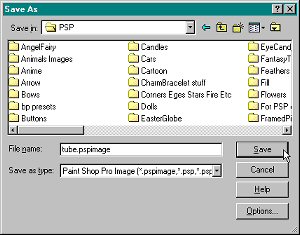
5. While your tube image is active, check your status bar for the width and
height settings. Open a new image the same size as your tube image. FILE > NEW
for the width and
height settings. Open a new image the same size as your tube image. FILE > NEW
 then
then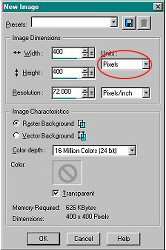
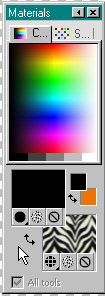
6. In your Materials Palette choose your foreground and background colors/gradient/texture you wish to use for your text.
7. Activate your text tool  . In the Tool Options Palette - Create
as: Vector, Select your font and size (according to your text), Stroke=1, Antialias is
checked, Align Center, Font Style Bold
. In the Tool Options Palette - Create
as: Vector, Select your font and size (according to your text), Stroke=1, Antialias is
checked, Align Center, Font Style Bold

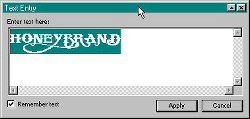
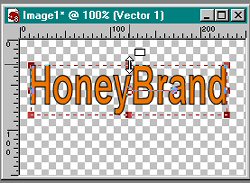
8. Click on image to bring up the text entry box and type in your text, click apply
9. You will now have a box with nodes around your text. Using your mouse and the nodes, adjust your text to your liking. (By creating as a vector layer you will not lose quality by adjustments you make.) Have your text adjusted to use most of your canvas.
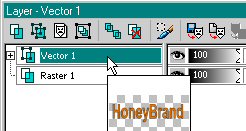
10. Once you have your text as you want, go to your layer palette then right click on the vector layer. Convert to raster layer.
 then
then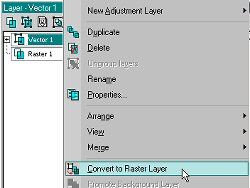
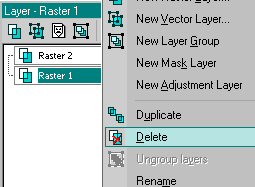
11. Go to your layer palette and delete any blank layers by right clicking on the layer to bring up a menu and delete.
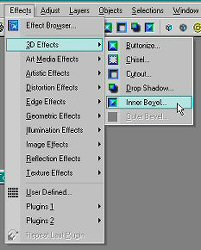
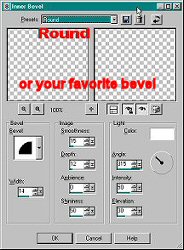
12. If you wish you can choose to put an inner bevel on your text. EFFECTS > 3D EFFECTS > INNER BEVEL
13. Once you are satisfied with your text, FILE > SAVE as a pspimage file.
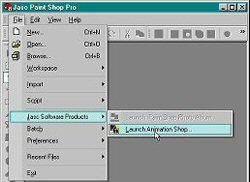
14. Open Animation Shop FILE > JASC SOFTWARE PRODUCTS > LAUNCH ANIMATION SHOP
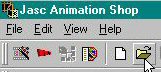
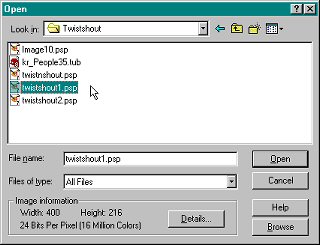
15. Open the tube psp file you saved in step 4 into Animation Shop. Click the Open File icon
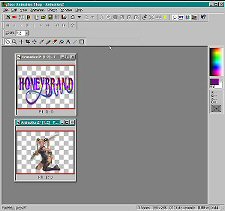
16. Repeat steps to open the text psp file you saved in step 13. You now should have 2 animations, one with your text, one with your tube, both should be a single frame.
(If you do have more than one frame activate the blank frame(s) and delete.)
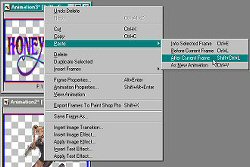
17. We are going to copy the tube animation onto the text animation. Activate the tube animation, click on frame1 to make it the active frame. EDIT > COPY
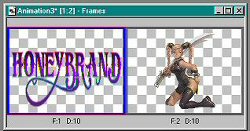
18. Activate the text animation. Click on the frame1 to select text frame. EDIT > PASTE > After current frame
You will now have this:
19. On your text animation click on Frame1(text) to activate. EFFECTS > INSERT IMAGE TRANSITION
Transition Length = 1 seconds, Frames per second = 4, Effects = Twist Click OK
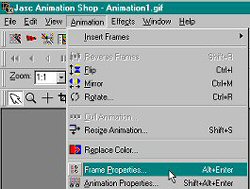
20. Click on Frame1 again to activate. ANIMATION > FRAME PROPERTIES and change the 10 to 30. Click ok
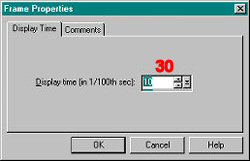
21. Activate last frame. ANIMATION > FRAME PROPERTIES and change the 10 to 30. Click ok.
22. EDIT > SELECT ALL then EDIT > COPY
Select the last frame by clicking on it
EDIT > PASTE > After current selection. LEAVE SELECTED
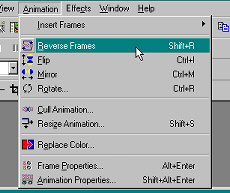
23. ANIMATION > REVERSE FRAMES
24. View your animation VIEW > ANIMATION and you should see your animation.

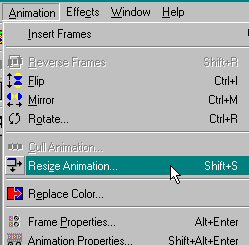
25. Resize your animation if needed by 85-90%. ANIMATION > RESIZE ANIMATION
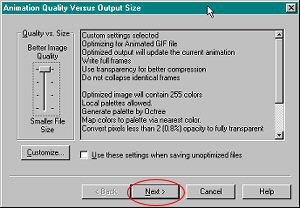
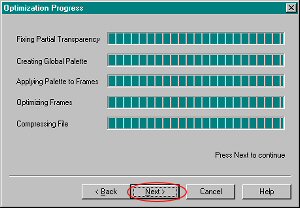
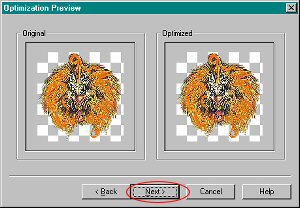
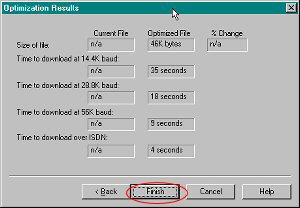
26. FILE > SAVE click next your optimizer